Alright, my order from Redwolf finally cleared customs and I received it today. I purchased a replacement selector switch (this time I got the steel one), and a replacement lower spring kit (meaning it has the hammer lock spring, selector switch detent and spring, and replacement pins for all - I just used the springs and hammer lock shims). I'm celebrating this by writing/illustrating proper lower assembly procedure, as well as a few tips and tricks that I figured out the first time I assembled the gun.
*Please note that I started taking pictures, then got halfway through and realized I'd herped, and I'd derped and I'd made a major mistake and had to take it all apart again. I'm placing the photos in correct order, but if something's missing in the background of the photo (IE the picture where I'm installing the trigger may be missing the selector switch), that's why. I also didn't remove the buffer tube and castle nut because they're loctited on.*
Alright, let's get started. I'll start this off by posting up a photo of my workbench. Why? This is a clear example of what yours should NOT look like when you do this.
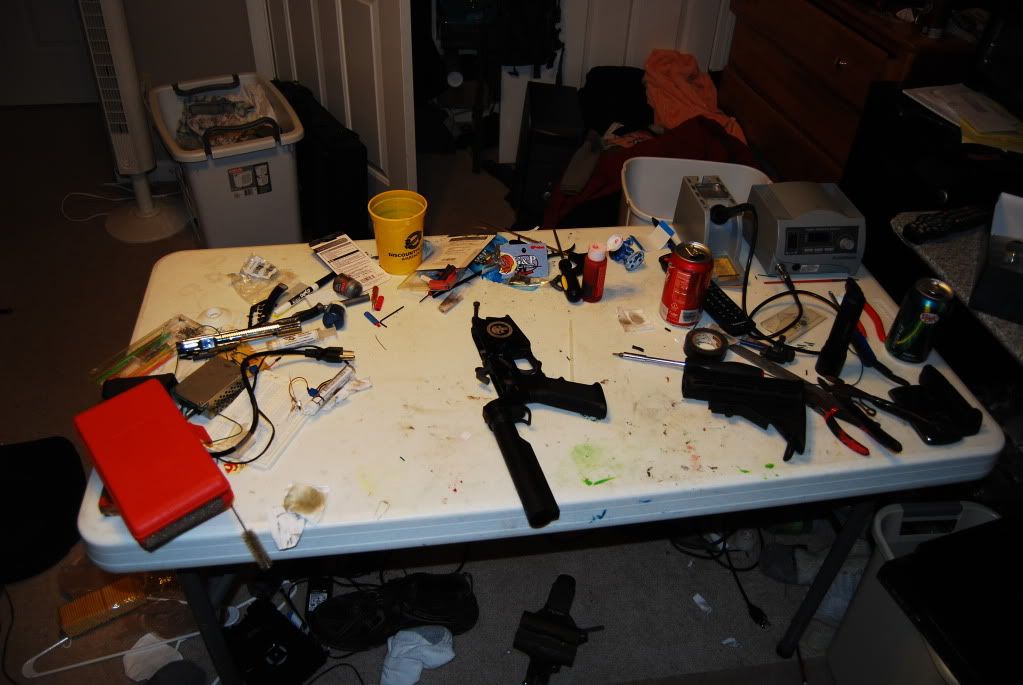
Lay out your parts in a manner that makes sense to you. What works for you, may not work for me, and vice-versa. I laid my parts out roughly in groups pertaining to what assembly they belong to.
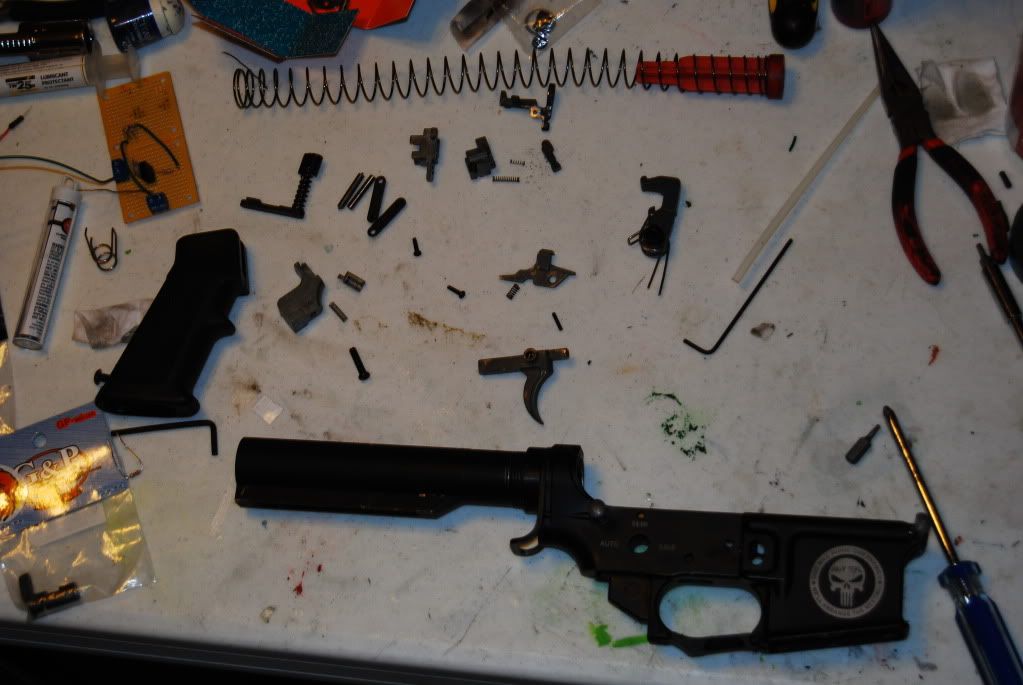
You'll need a few tools: hex wrenches, screwdrivers (both flat and Phillips head), needle nose pliers, a hobby knife, and I found it easiest to have a vise on hand.
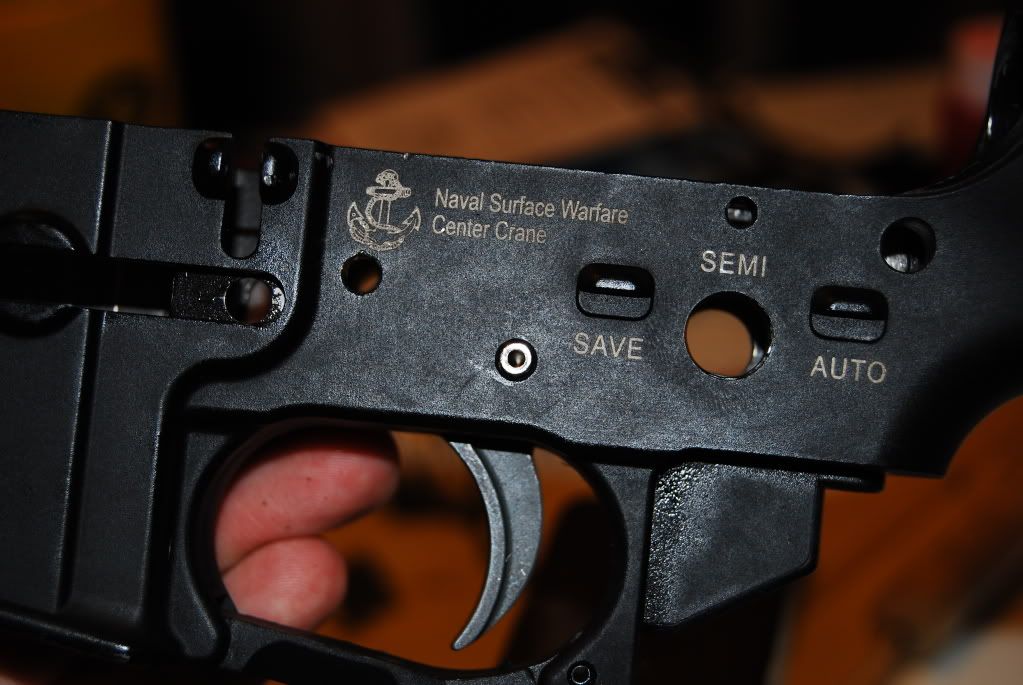
The first step for me was to clean the receiver because I did a rebuild. I don't have a photo of this. To do this, I sprayed some M-Pro7 into the receiver, then wiped it out. I do, however, have a photo of the empty receiver.

Now, assemble the locking block.
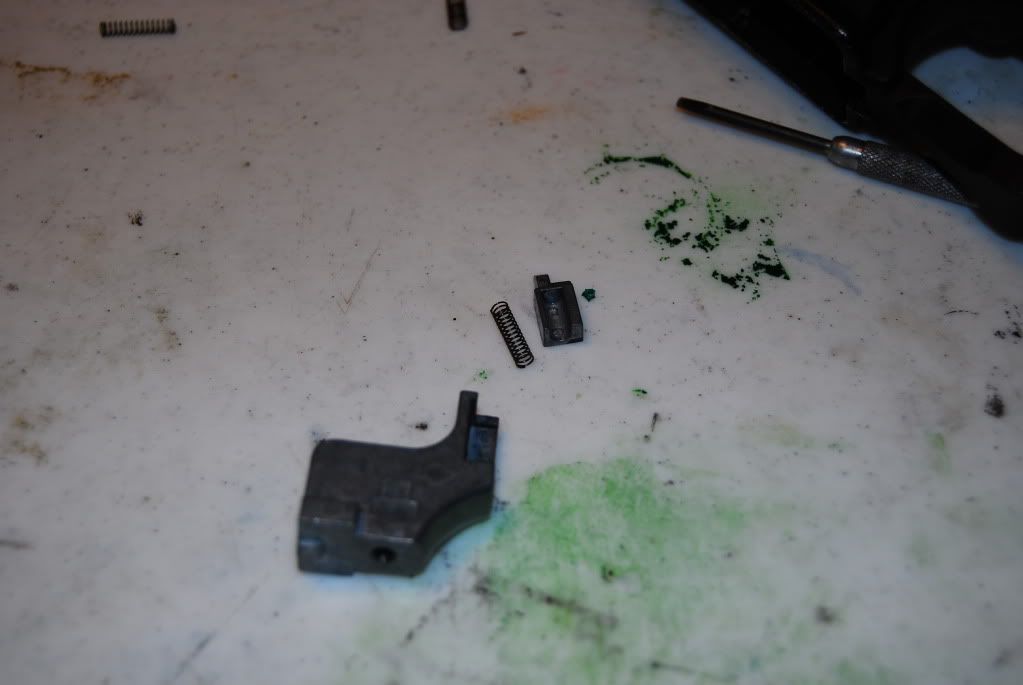
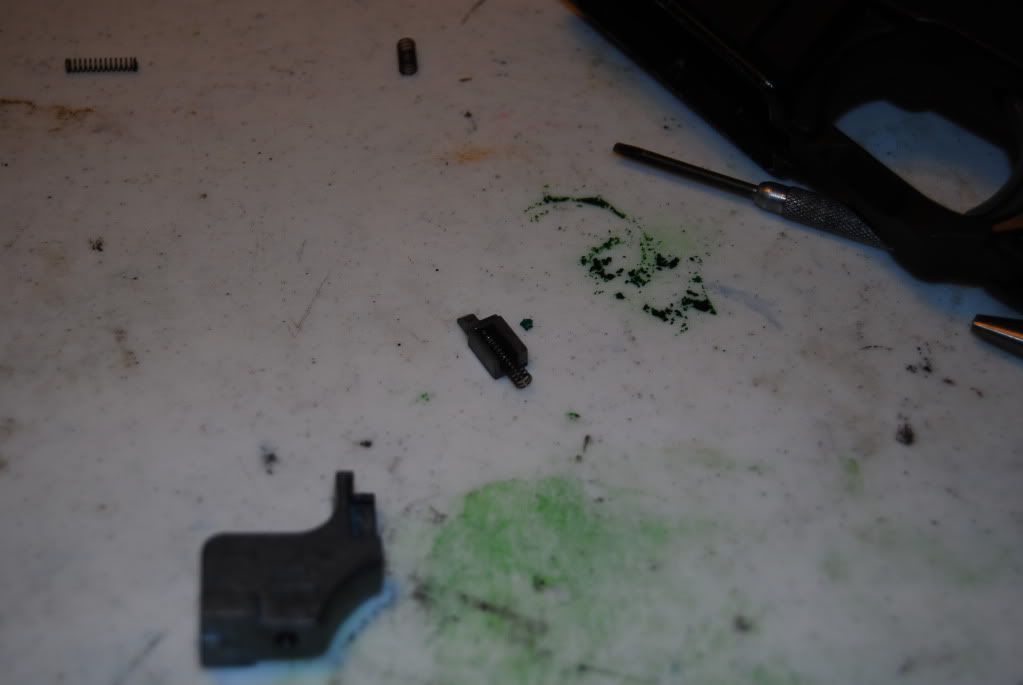
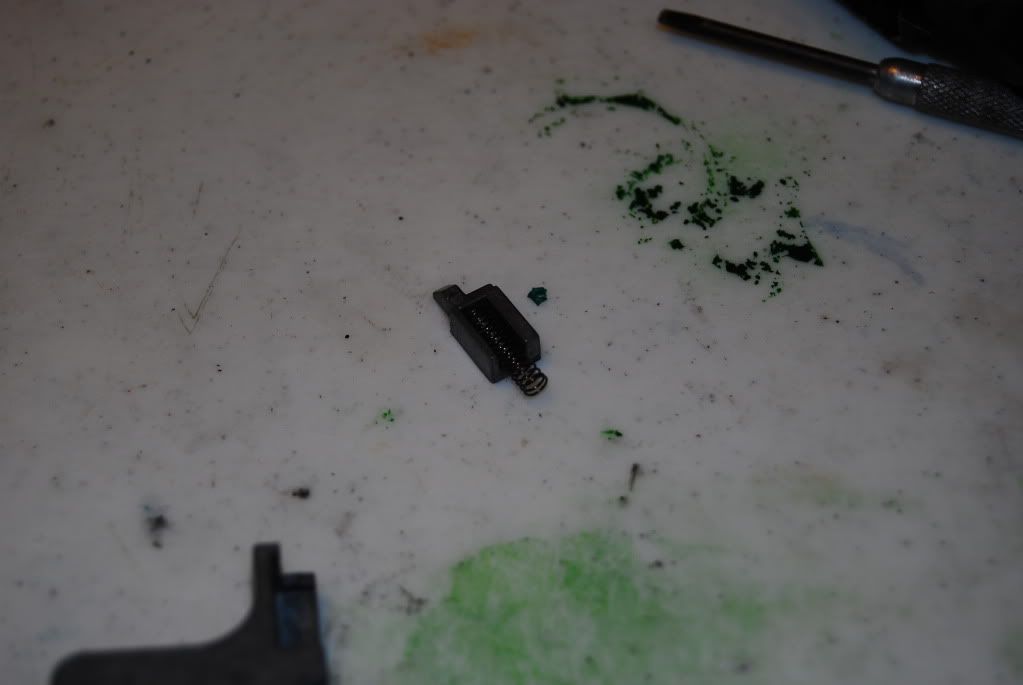
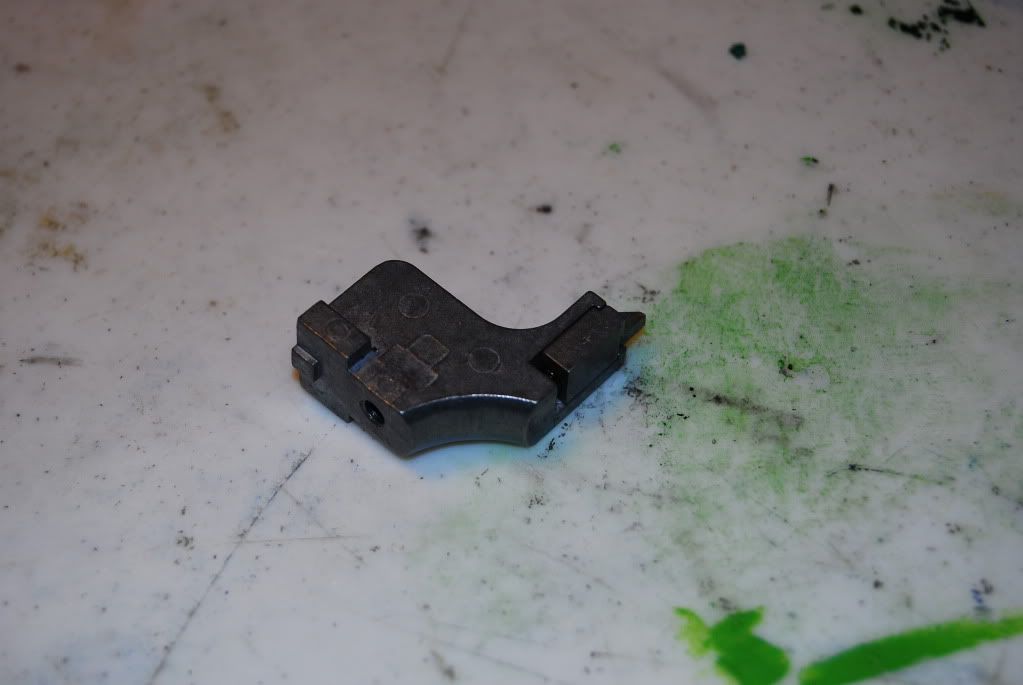
Insert it into the receiver.
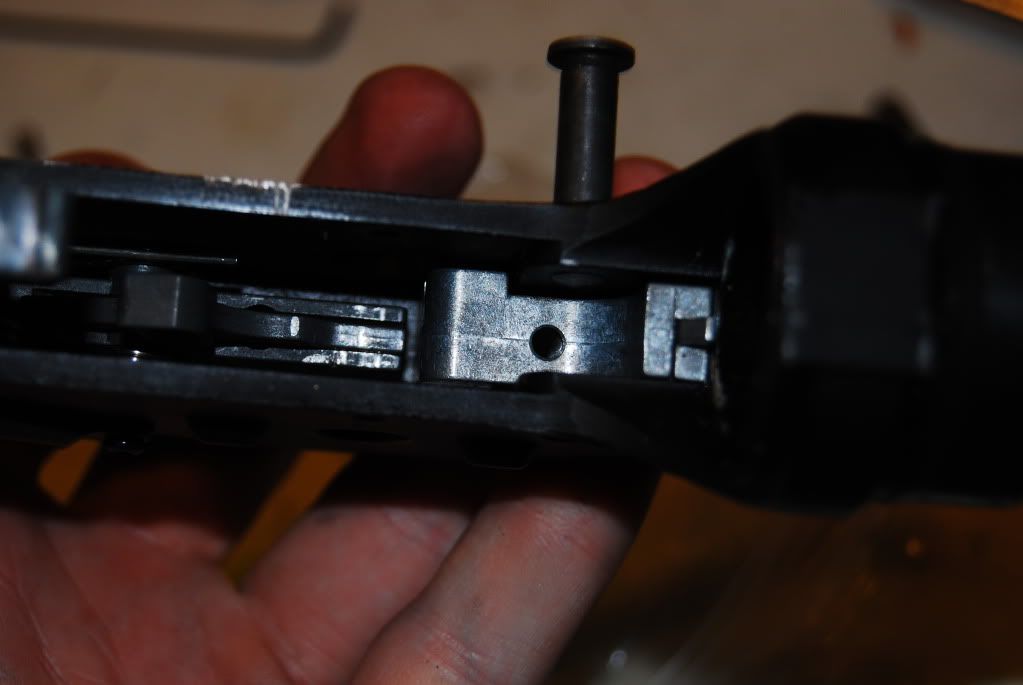
Insert the screw, but don't tighten it down all the way. The reason for this is to make positioning the hammer lock exponentially easier.
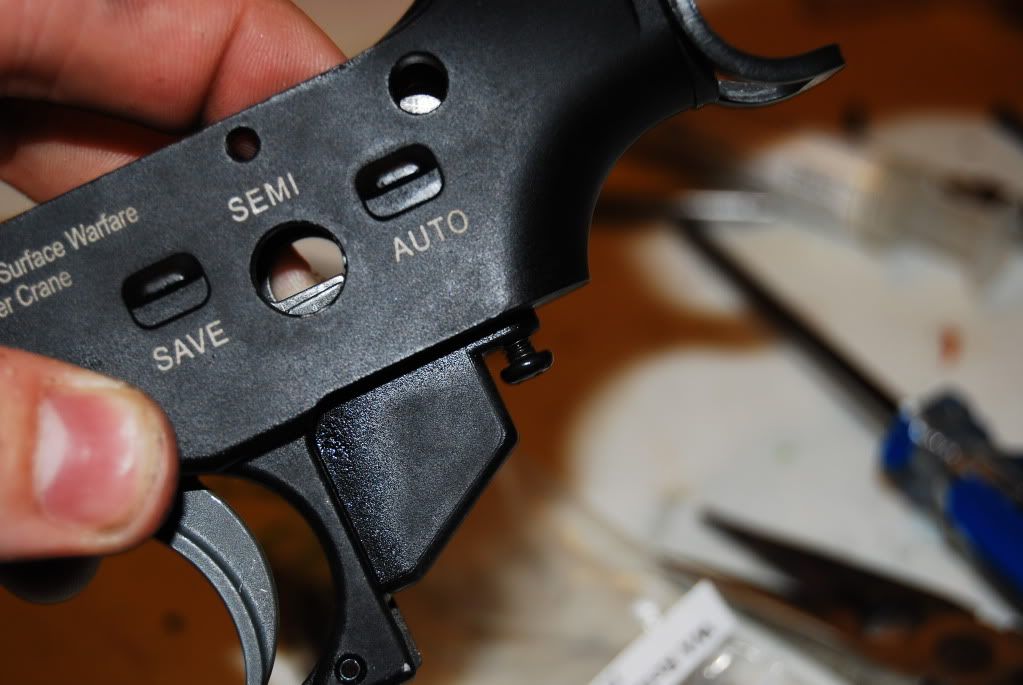
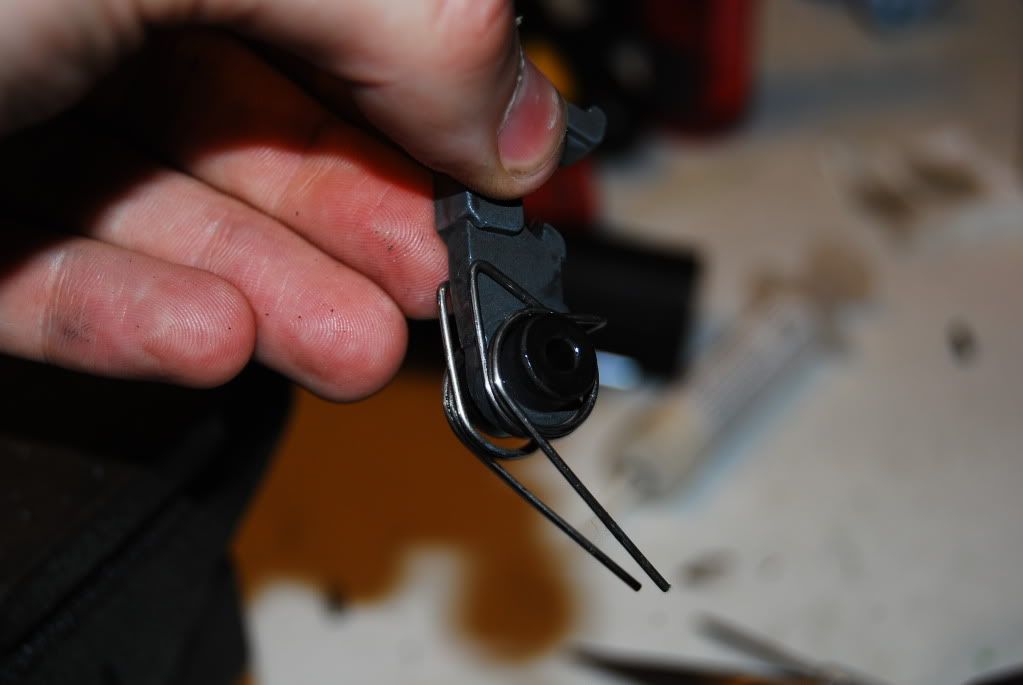
Install the hammer lock spring into the hammer lock.
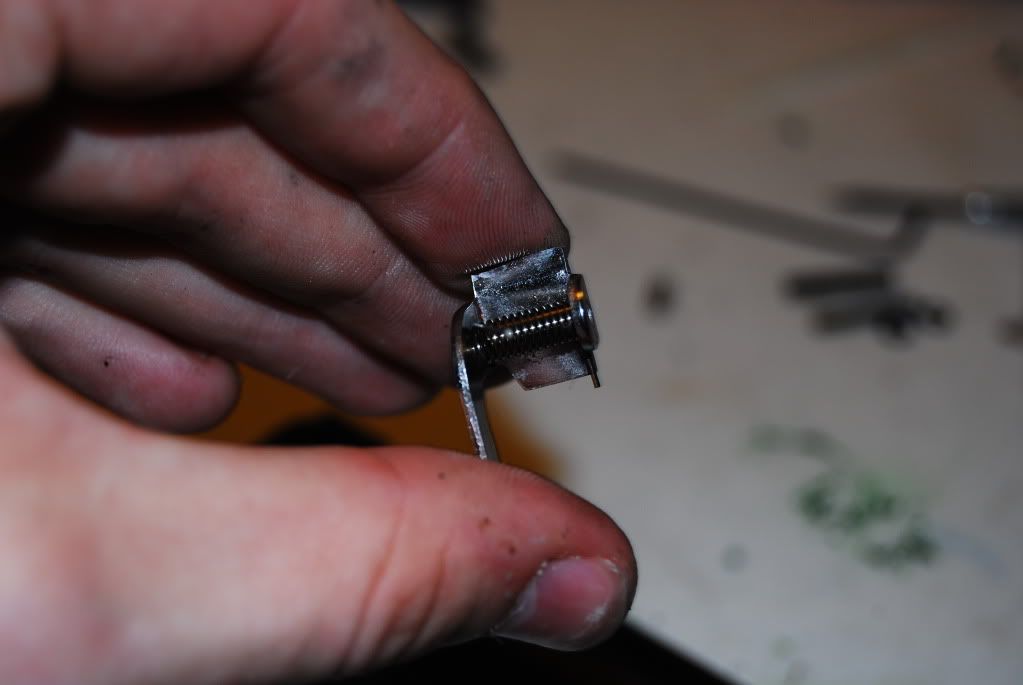
It would have been too difficult for me to take photos of the actual installation process for the hammer lock, but I do have photos of what you should start with and what you should end up with. Make sure you shim it so that it's as close to the left side of the interior of the receiver as possible while still allowing easy motion.
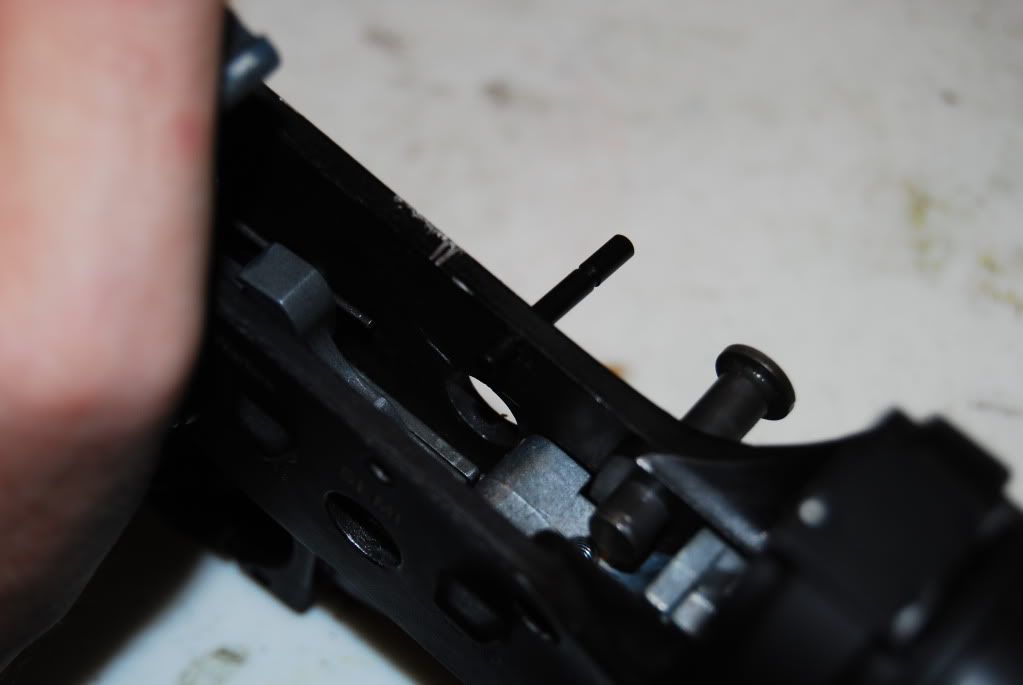
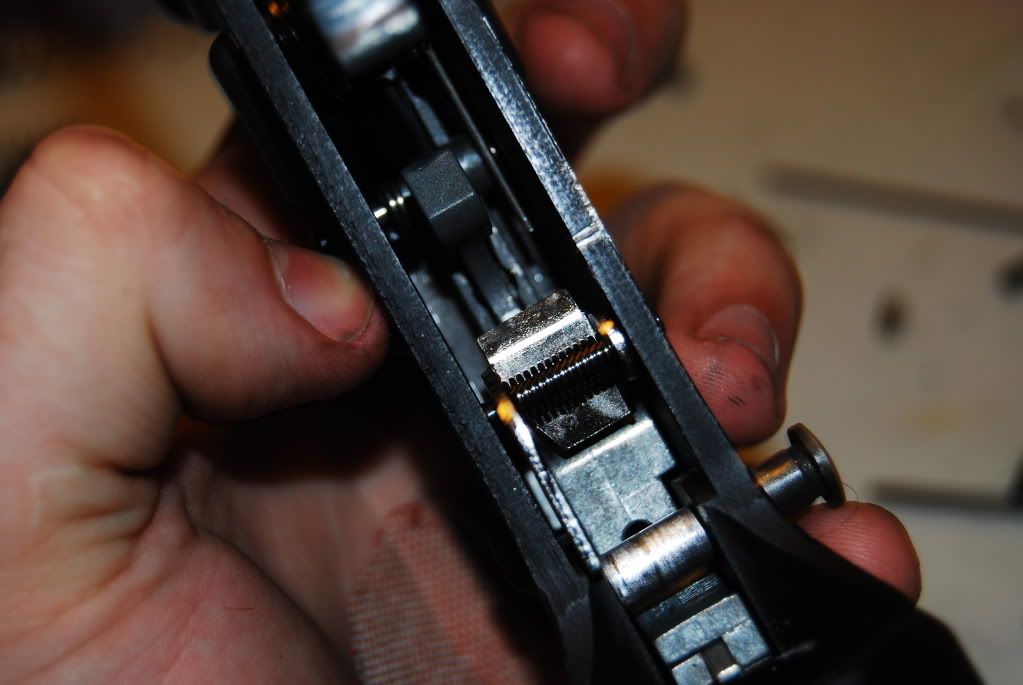
Rotate the hammer lock assembly so that it's oriented correctly (the "tail" of the spring is forward of the locking block, and the tail of the hammer lock is down). I don't have photos of this, so you're going to have to use your imagination for this one. You can now finish tightening down on the locking block.
Install the selector switch detent using a pair of needlenose pliers through the selector switch mounting hole in the right side of the receiver, into the appropriate hole on the locking block.
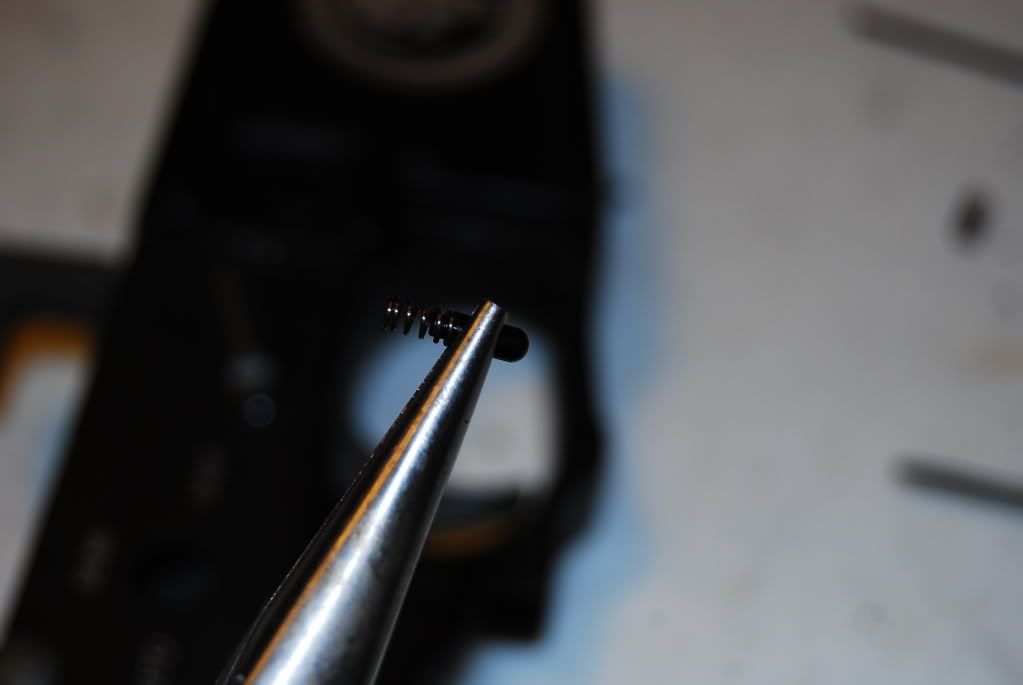
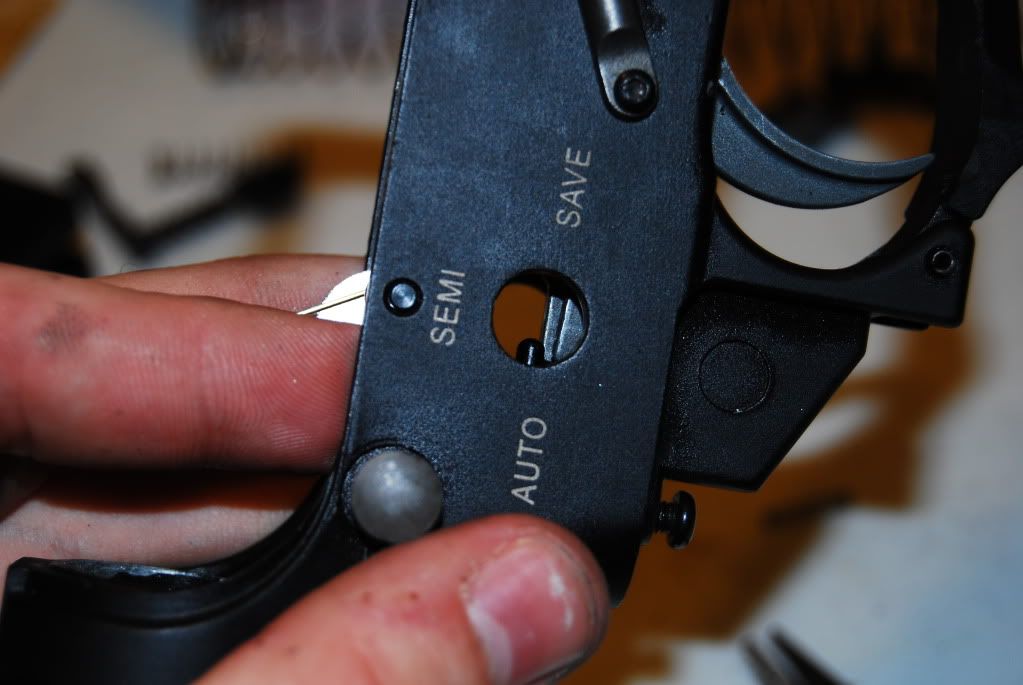
Now, here's where I had to get creative (originally; I now have this down to a science). I took a hobby knife and wedged the blade in just the right place so that it would catch the hammer lock spring tail, but leave the actual hammer lock to swing freely. Here I have a photo where I shoved a hex wrench in there so you can get an idea of how it's supposed to work when it's done correctly (and to get an idea of how the selector switch sits between the two once installed).
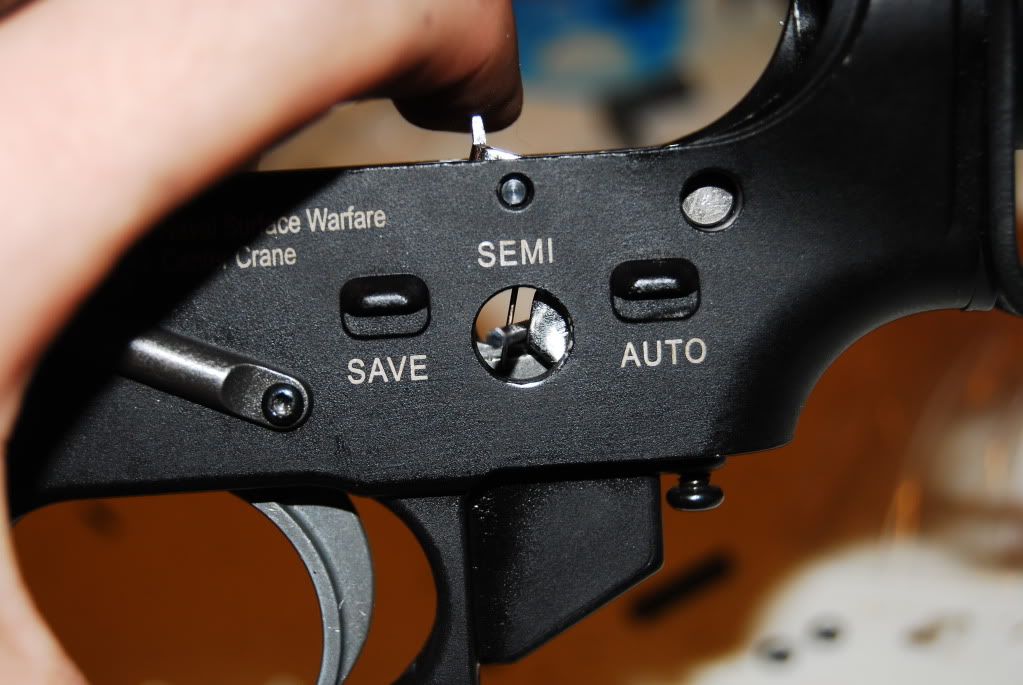
Using the method I described above, install the selector switch.
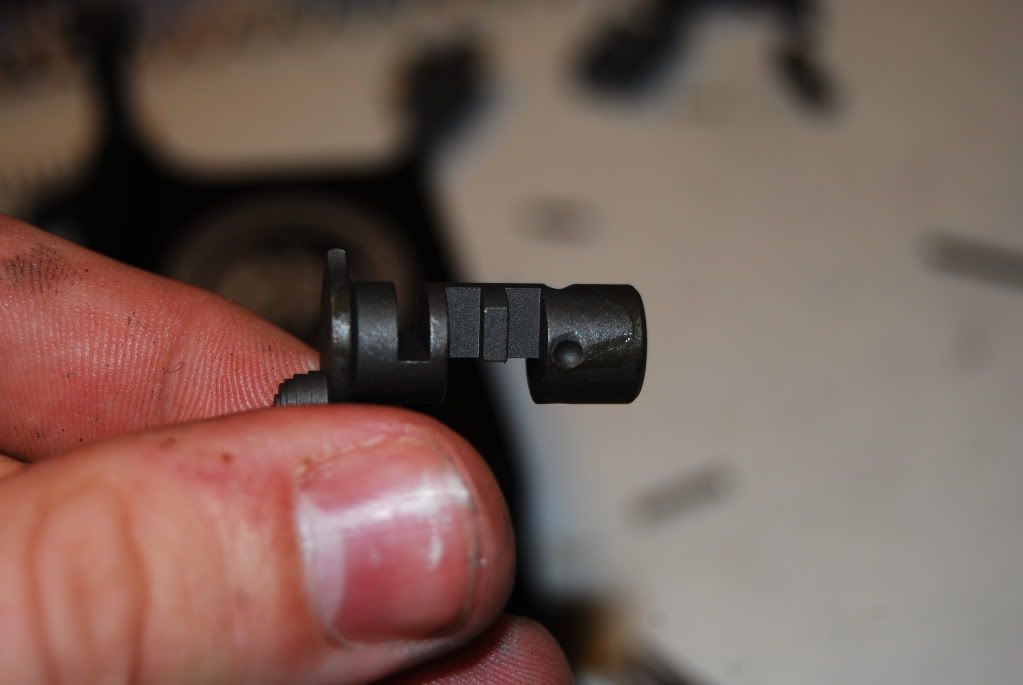
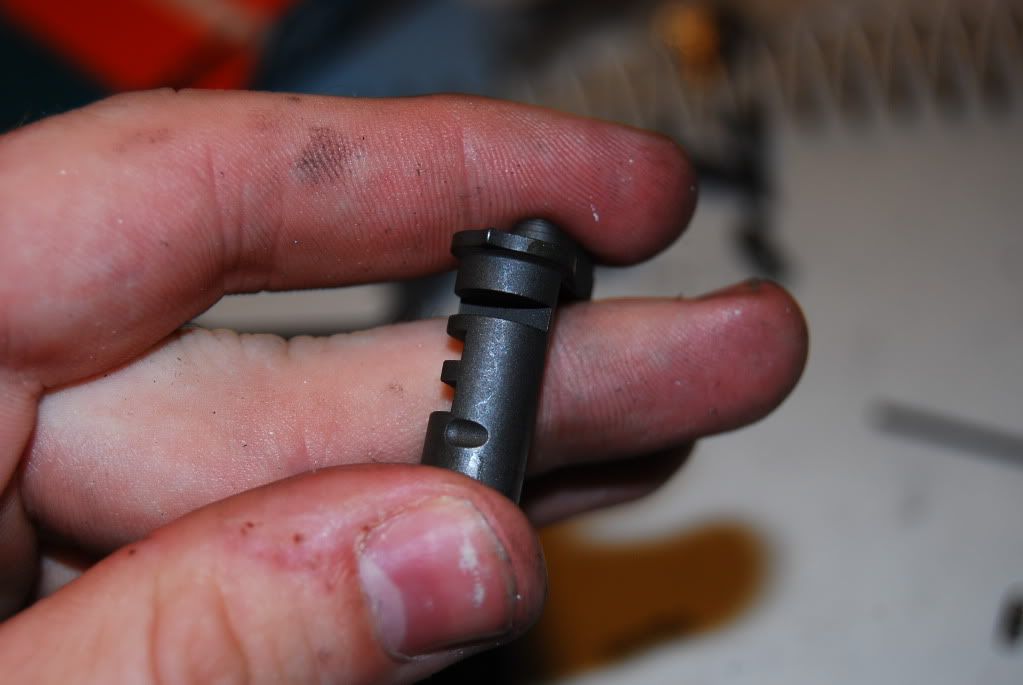
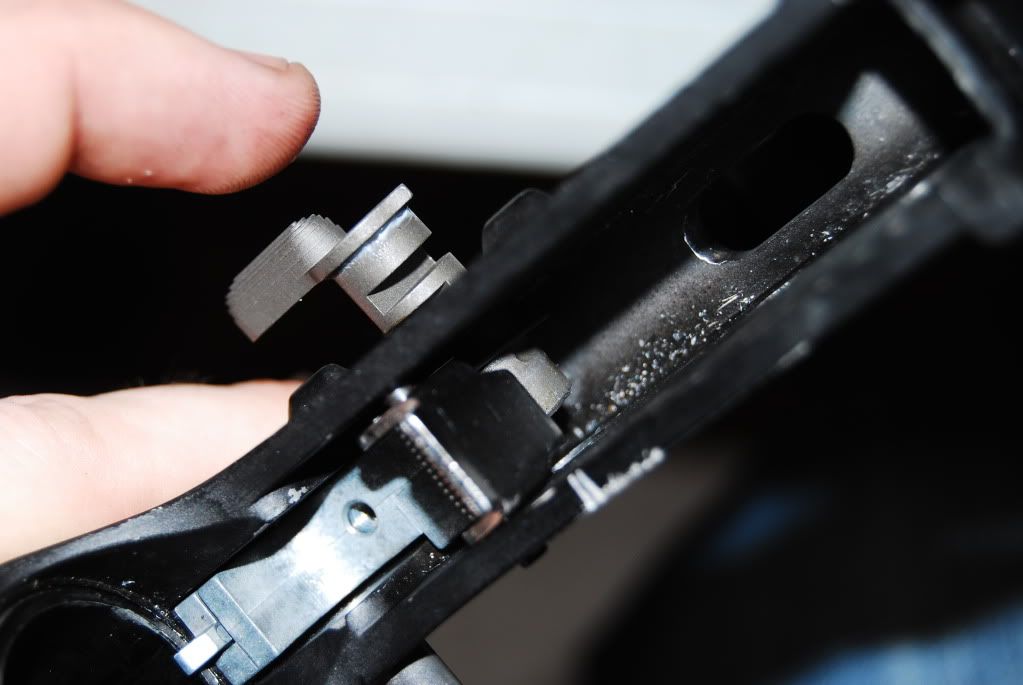
I originally installed the grip at about this time so that it would be a little easier to handle. The photos I took this time don't reflect that, but timing is discretionary.
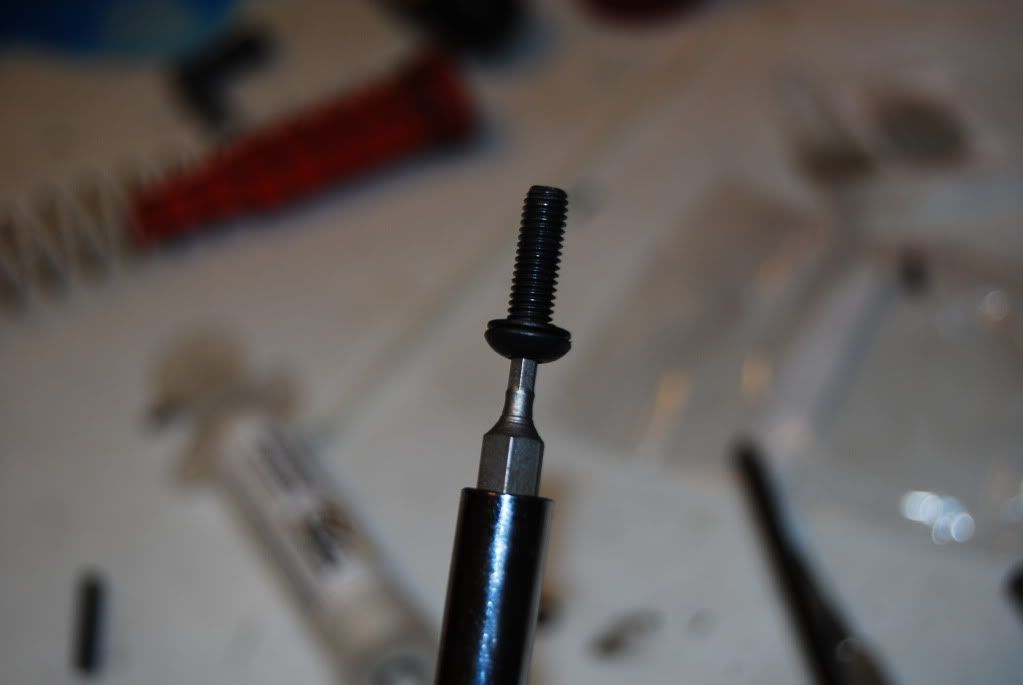
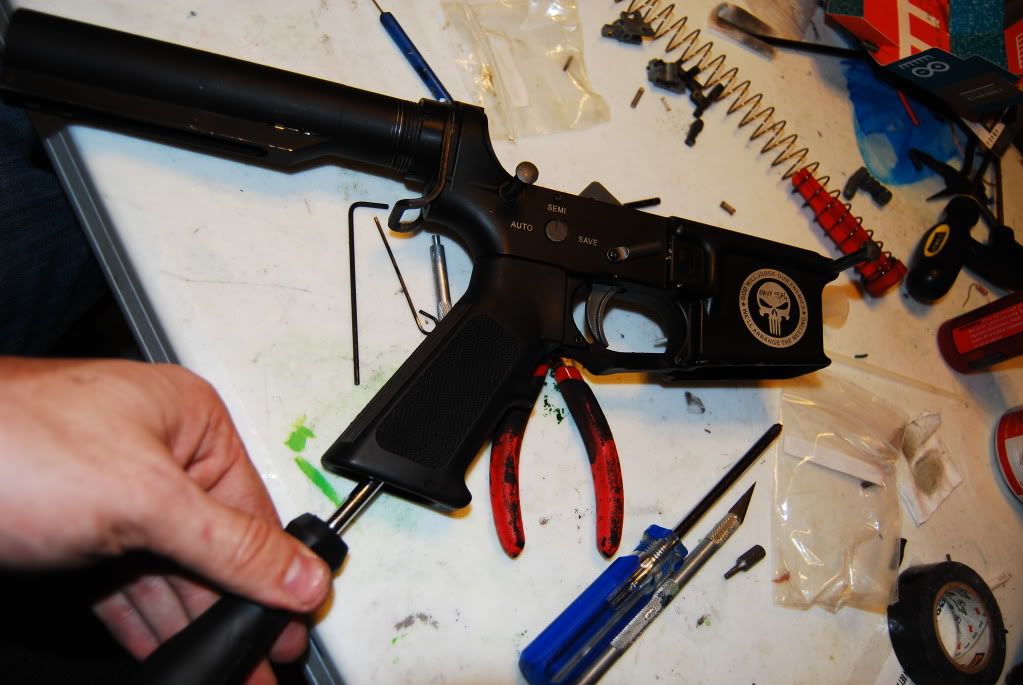
Now, assemble the trigger. This is how it'll be assembled inside the gun, but it may be easier for you to put the trigger in there, then put the sear and disconnect spring in after installing the actual trigger. (Note: When I took these, I didn't realize that small piece of the trigger spring was out of place - it belongs under the front of the trigger. I corrected it before installing it, but I forgot to take new photos.)
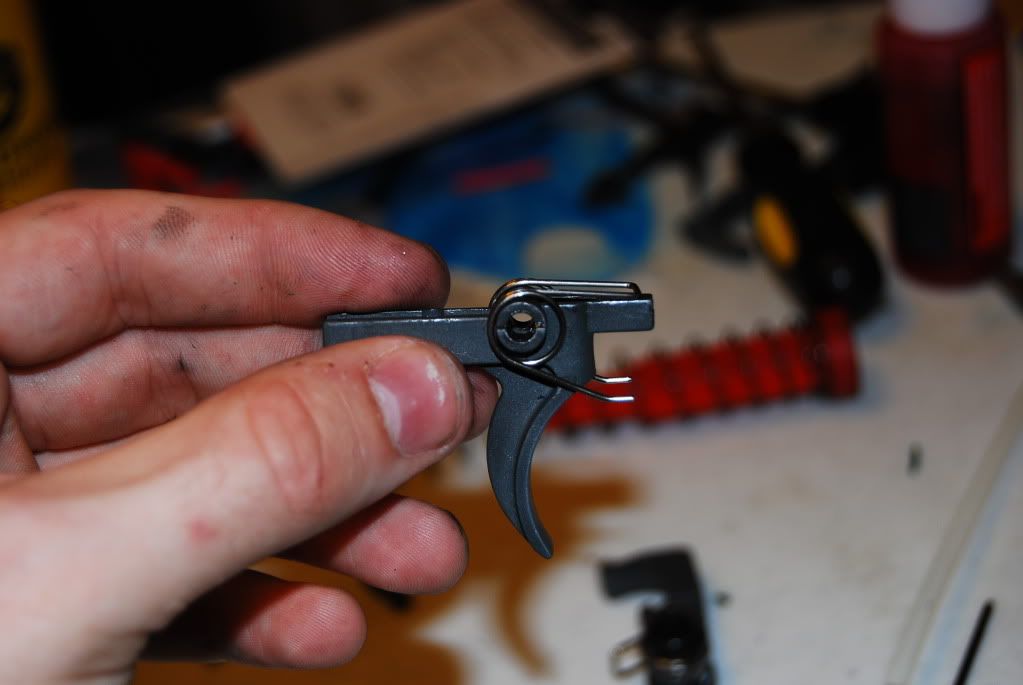


Put the trigger into the receiver.

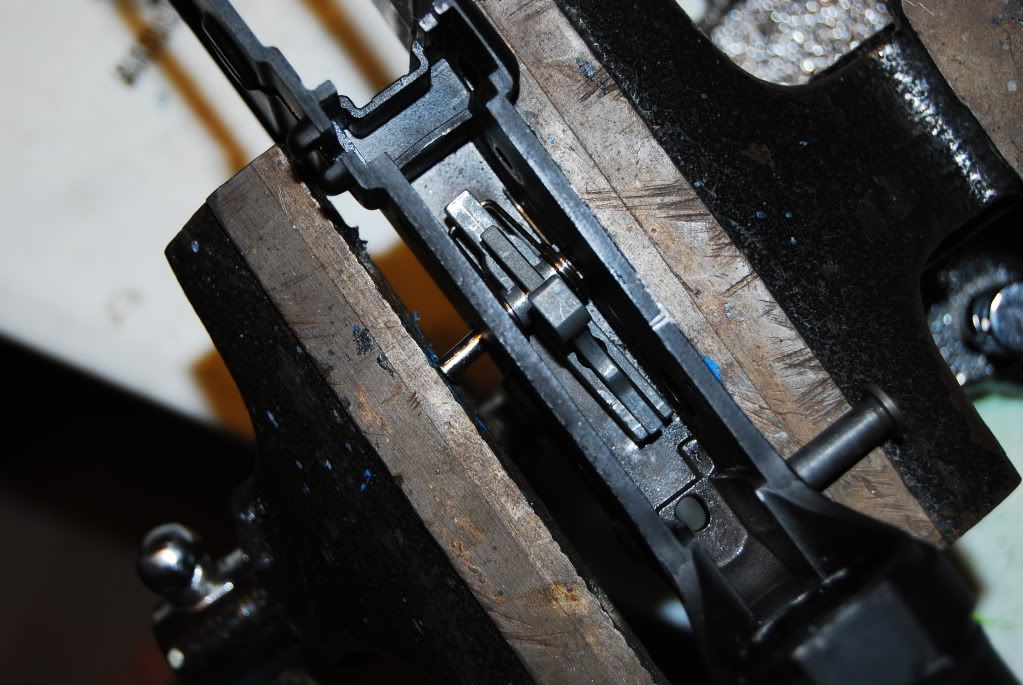
Insert the trigger pin. To do this, I found the easiest way was to push the pin in a small amount, then clamp it in a vise to get it through the actual trigger and disconnect, then push it the rest of the way through by hand. I'm not using the original trigger and hammer pins because I have a set of anti-rotation links so I wouldn't have to use that stupid lock washer that's supposed to go into the trigger, but the technique is the same.

Assemble the hammer. Mine looks more like a stock WA assembly because I bought an Element bearing set, threw away the worthless bearing and pin (both were too small, and not even sized for each other), and kept the bushings. I pressed them into the hammer, then installed the spring. I just left it assembled between builds, but this is what you're going for.
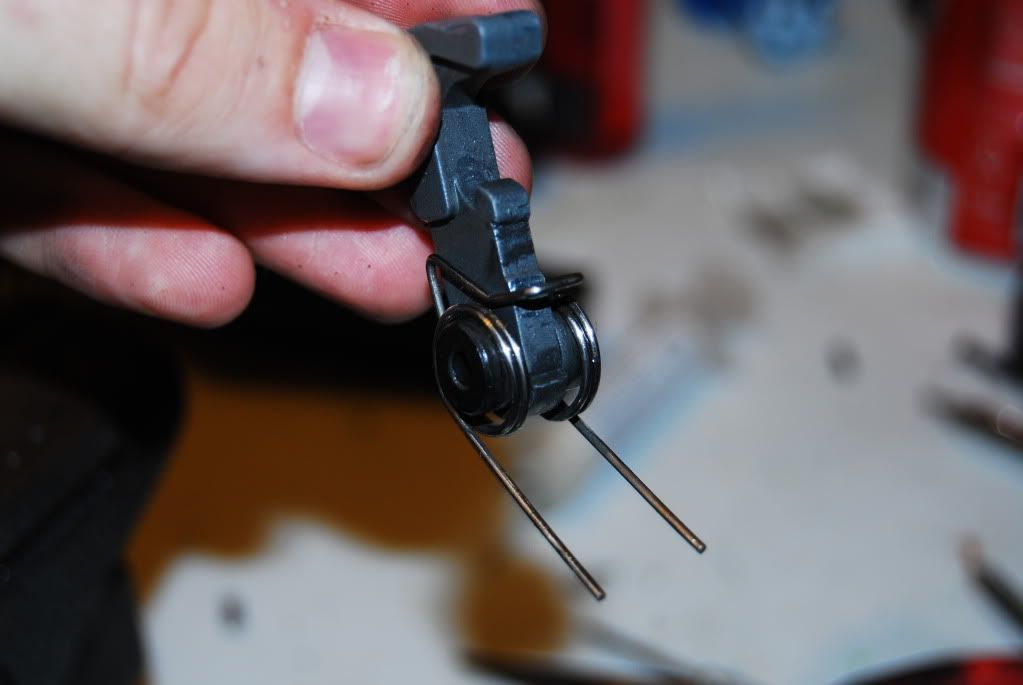
Install the hammer assembly into the upper, and line it up with the hammer pin holes.
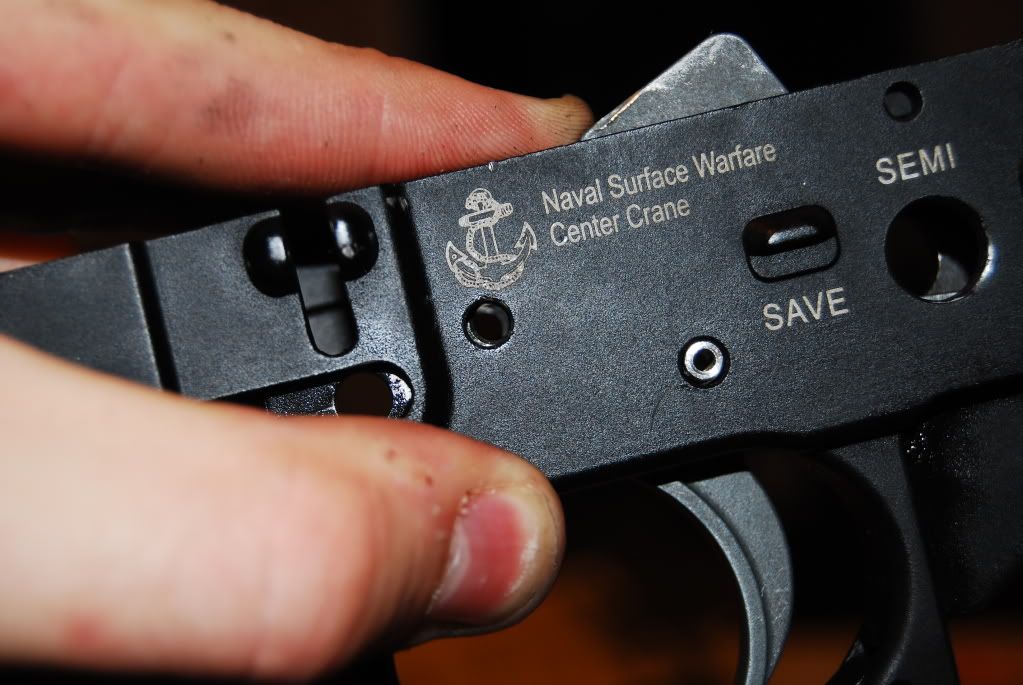
Install the hammer pin. If you don't use the lock washer, then it should just slide right in there with little effort. I don't know how to use the washer system, as my anti-rotation links replaced the need for it.
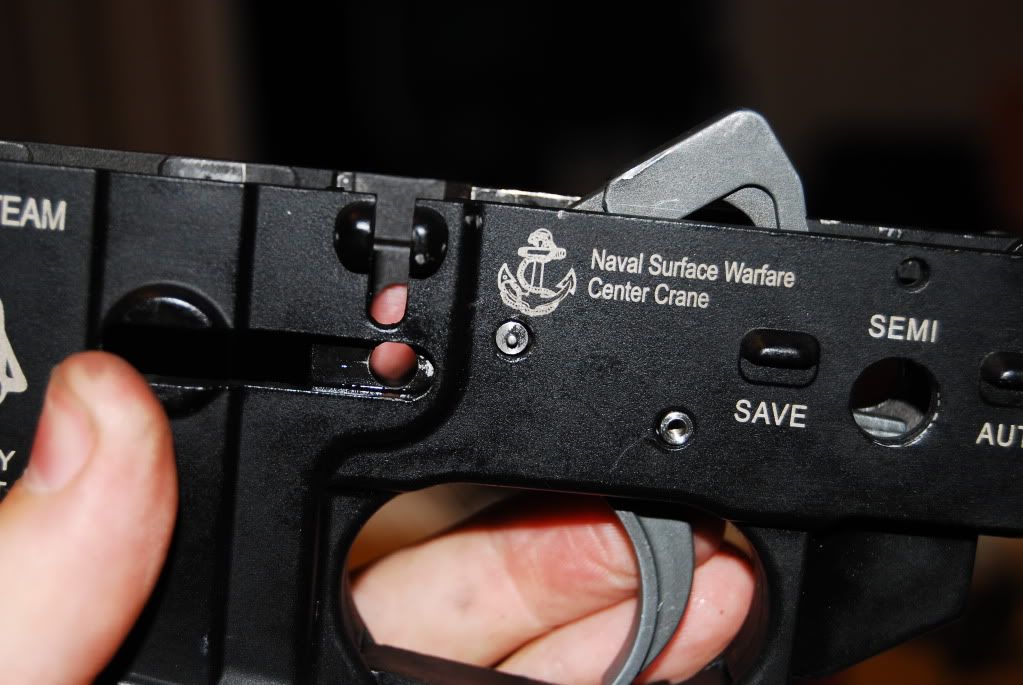
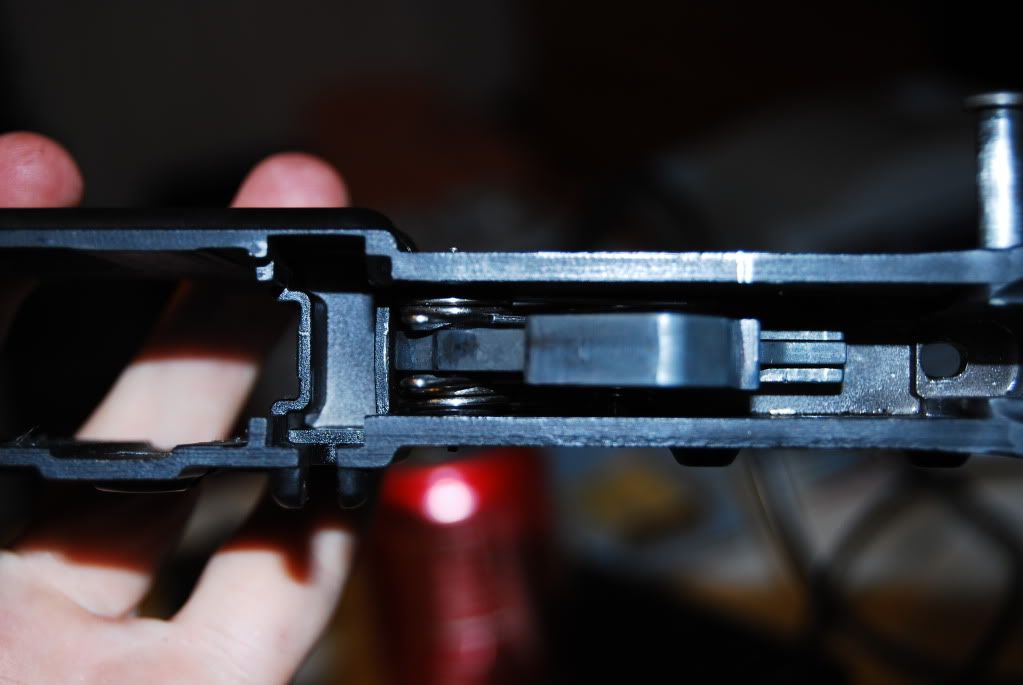
You're almost done! Just a couple more steps left!
Assemble the firing pin/bolt stop.
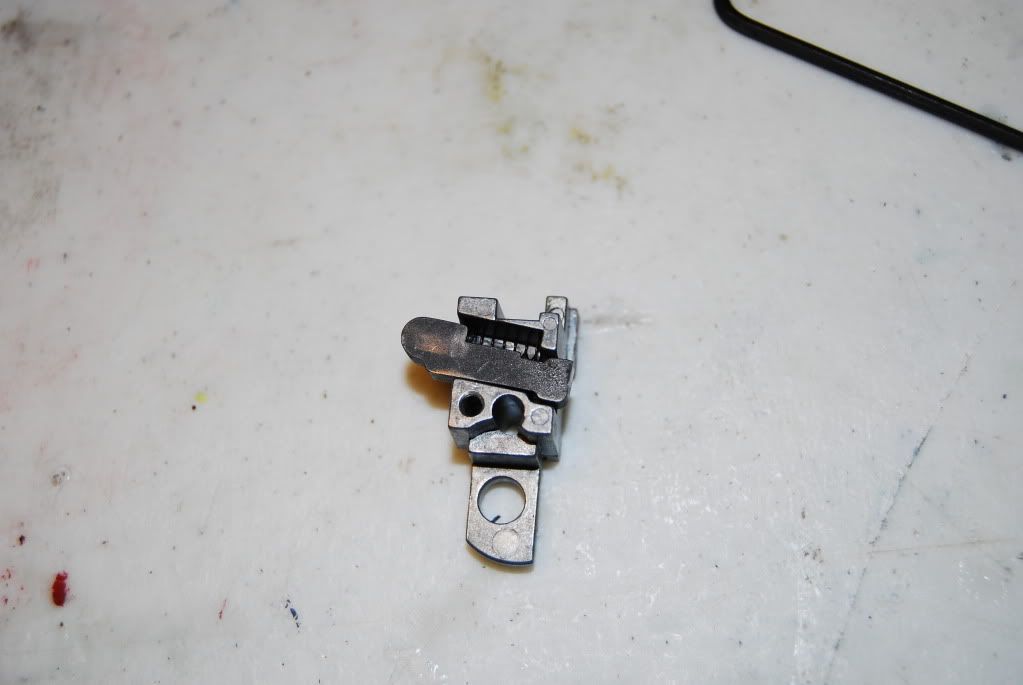
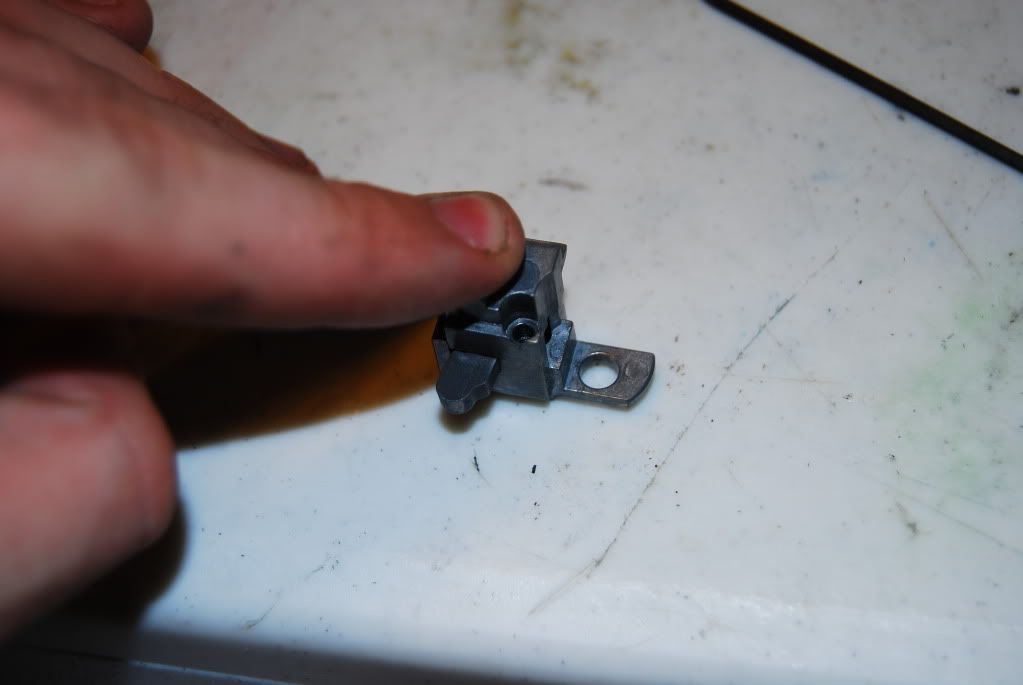
I put some blue Loctite on the screw that holds the assembly together, then screwed it all together.
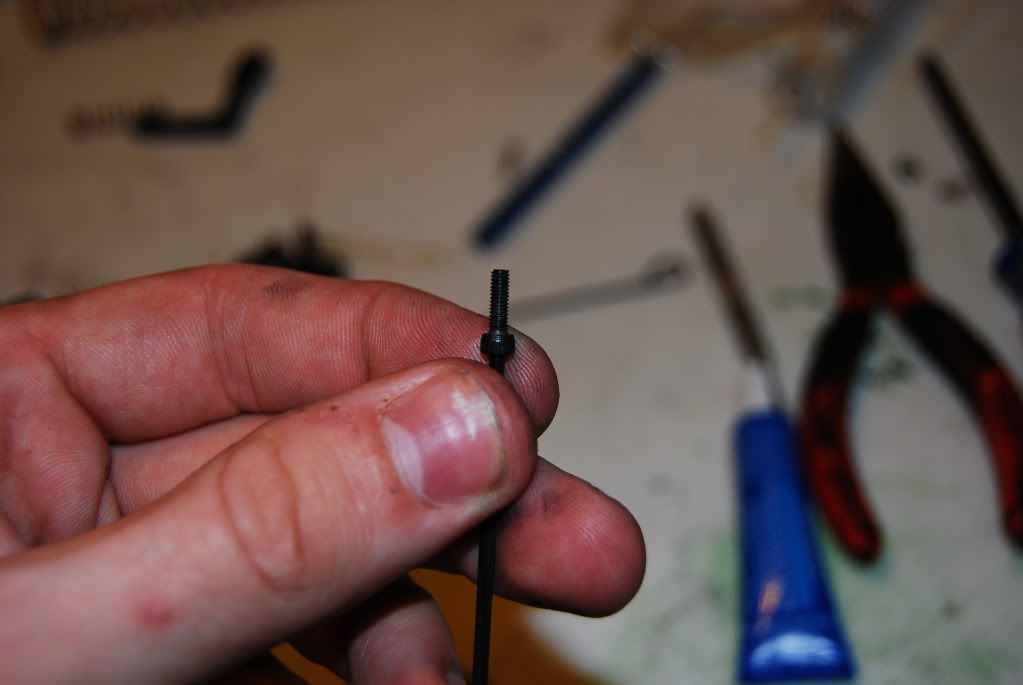
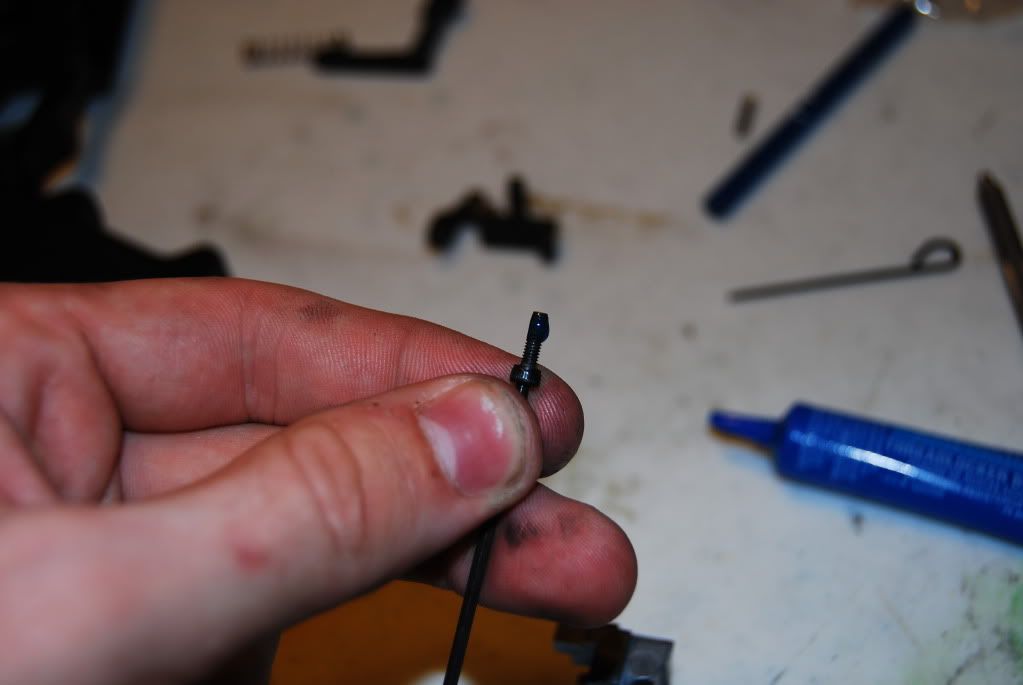
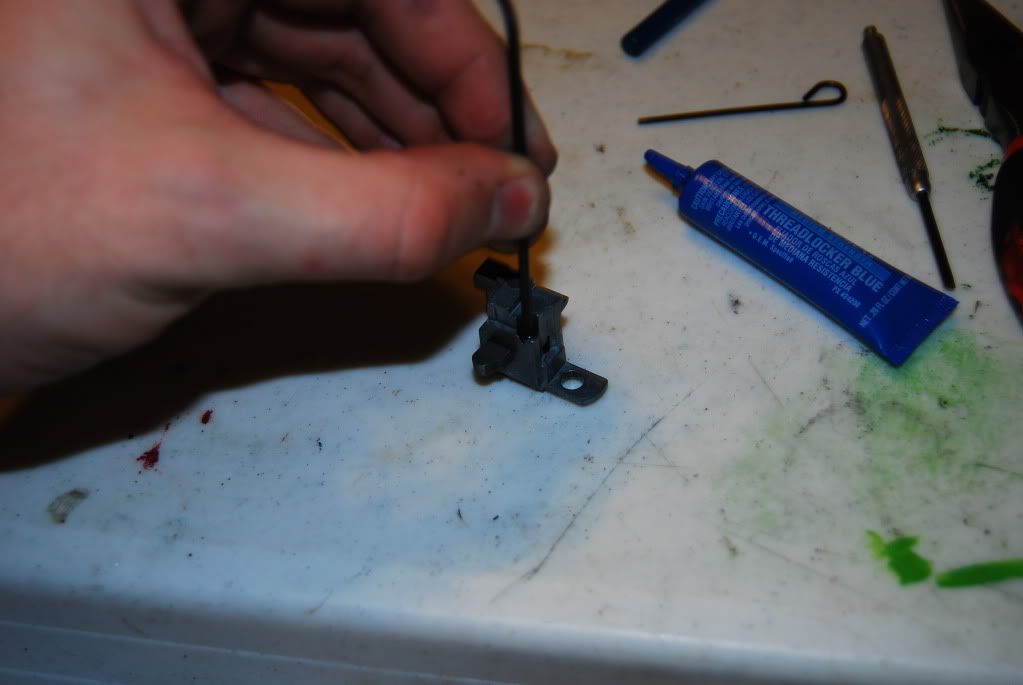
Install the bolt stop return spring.
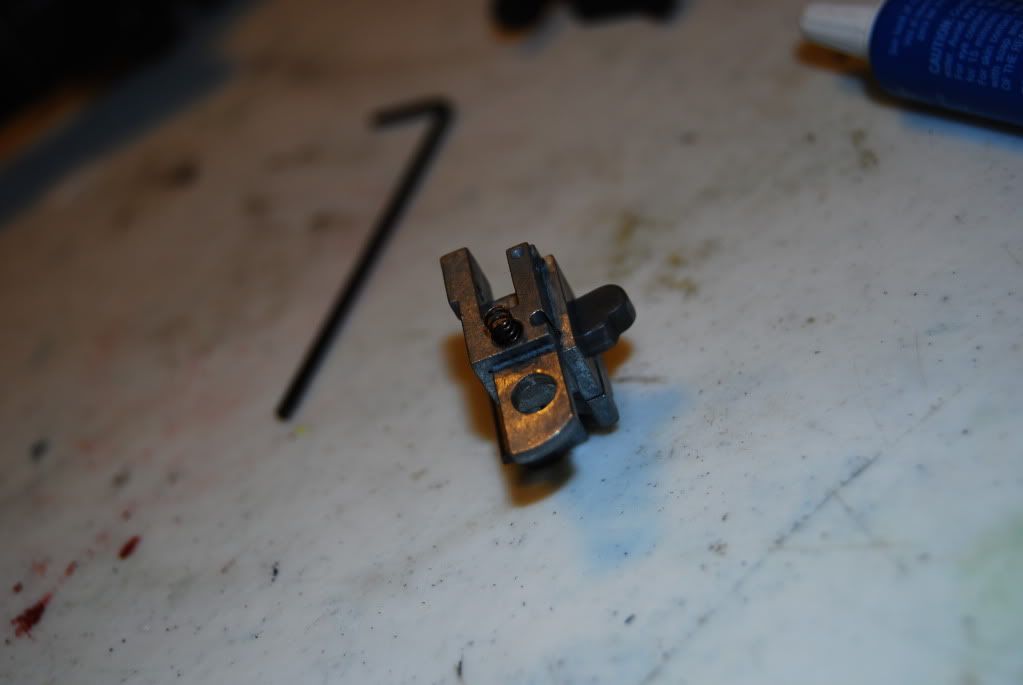
Install the bolt stop, and pin it in place. I have an RA Tech stop, which needs some fitting before it works properly.
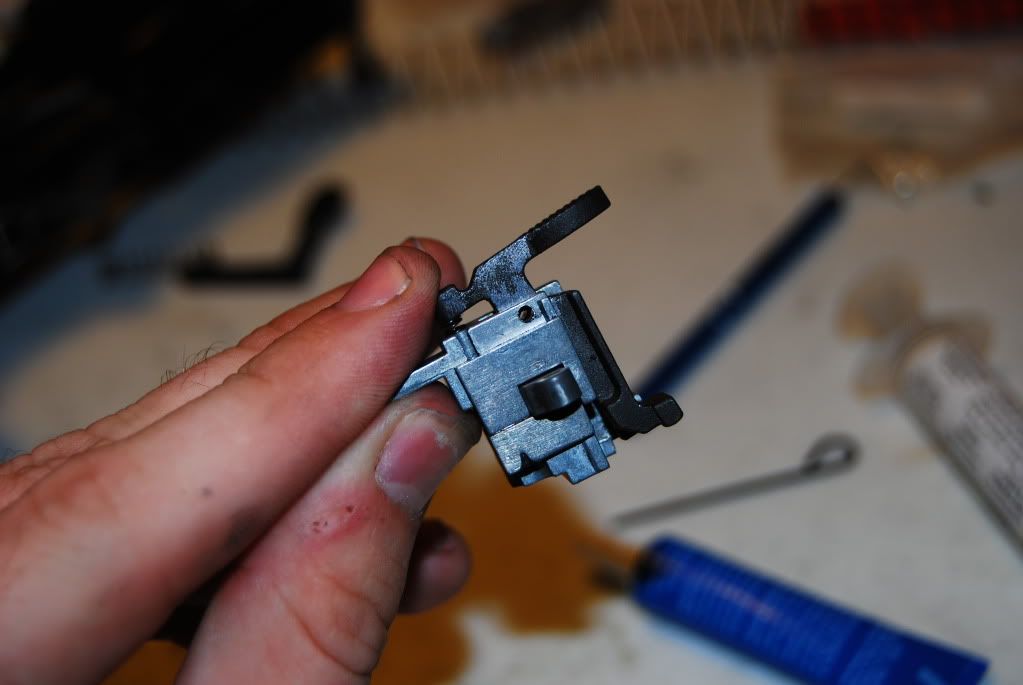
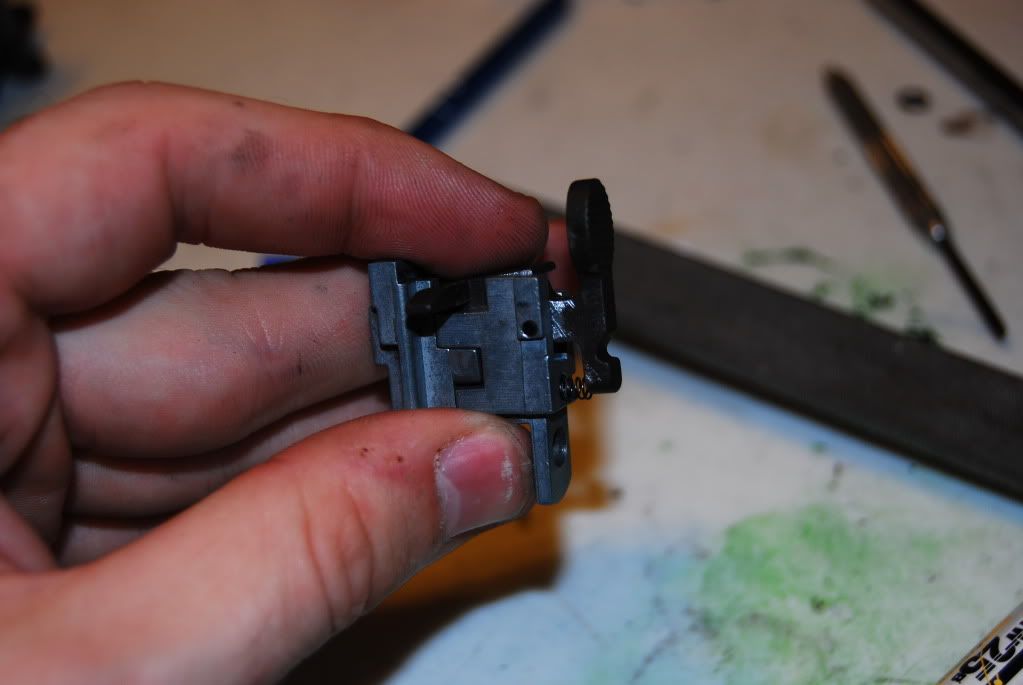
Install the assembly into the gun.


Install the mag catch lever. Mine's a G&P steel one.


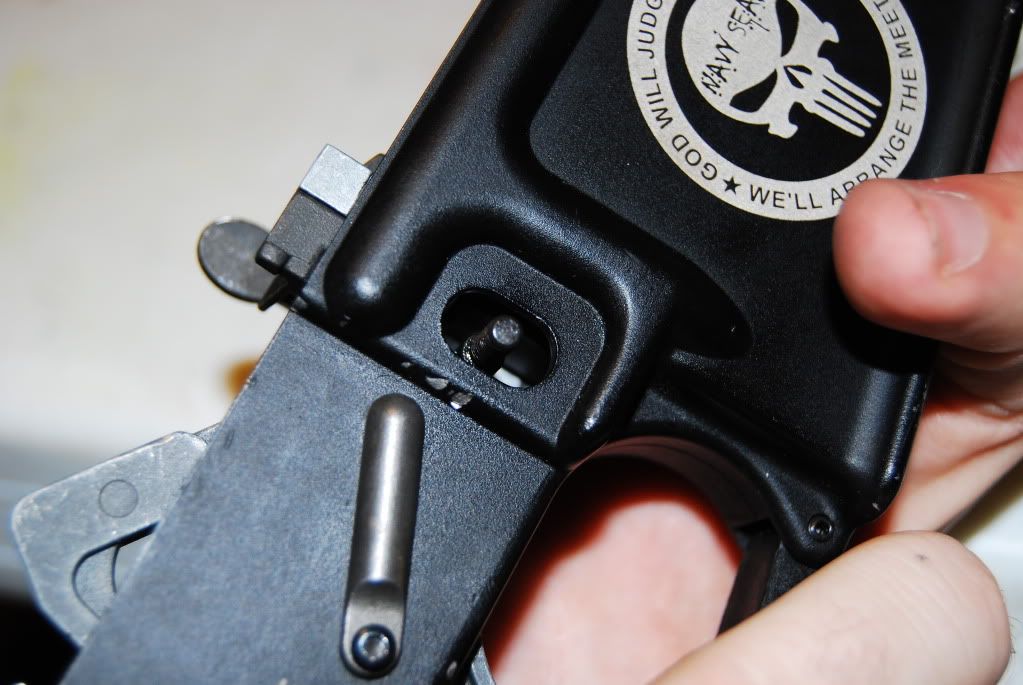
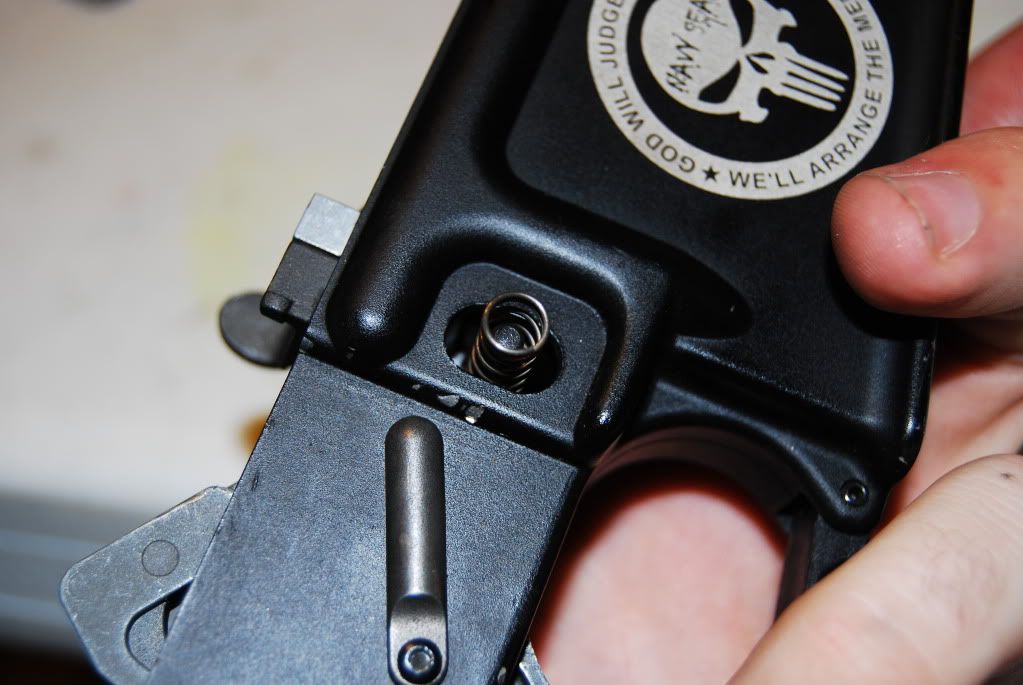
Once you have it this far, use the mag catch button to apply enough pressure so that you can spin the catch lever around. Remember, righty-tighty, lefty-loosey. You want to screw it in to look something like this. Note that the threaded portion of the lever is roughly even with the surface of the button.
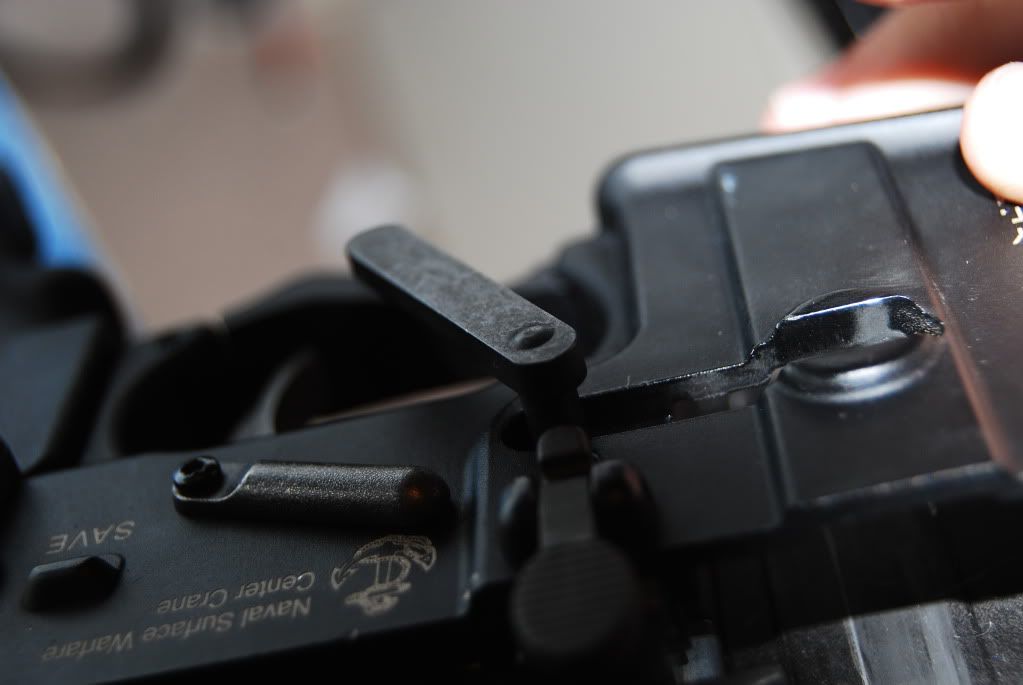

Function test the mag catch.
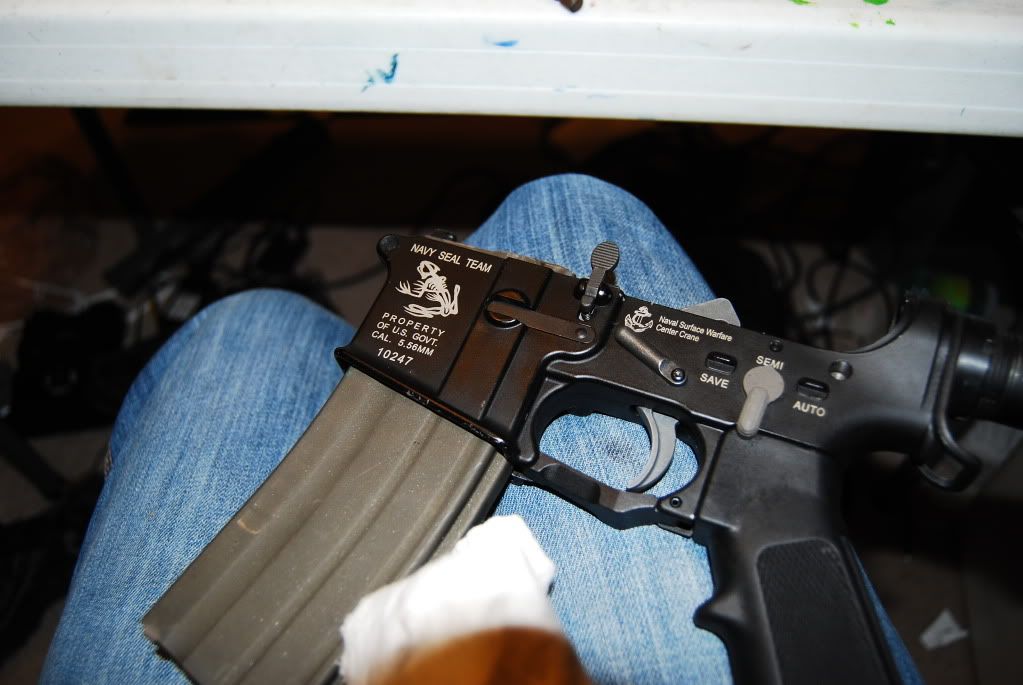
Install the buffer and spring. Mine is lighter to accommodate a higher rate of fire and to lower recoil. If you want to use any buffer other than a G&P speed buffer (the one that comes with it, in other words), then you'll have to drop quarters into the buffer tube behind the spring to lower the distance the buffer has to travel (this is to help prevent jamming and other issues). This is important; I am not ashamed to admit that I've accidentally forgotten to reinstall the buffer and spring after doing some work - the bolt gets stuck in there, and badly. Took me an hour to get out, even with removing the buffer tube entirely (remember, that effectively locks the two halves of the receiver together).
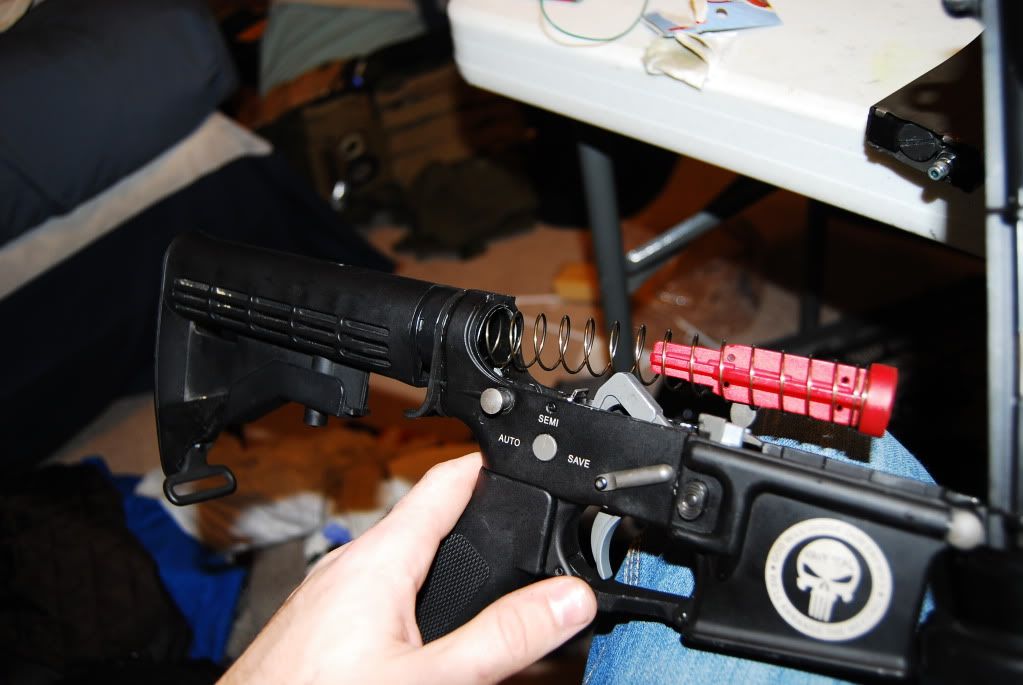
Function test it like you would a real AR15. On safe, you shouldn't be able to pull the trigger, and the hammer shouldn't do anything. On semi, it should only fire once, then the disconnect should catch the hammer. On auto, the disconnect should disengage, but after the first shot while holding the trigger down, the hammer should get caught on the hammer lock. pushing on the hammer lock should disengage it and the hammer should come flying forward.
Install your upper receiver assembly, and you're good to go!
